When you’re planning to do a painting project, one of the best possible purchases is…
How To Unclog Spray Paint Can
There are many benefits to using a spray paint can while decorating or refurbishing, they can be bought very easily, are extremely easy to use, and can be much more convenient than traditional brush painting.
With that being said, this simplicity doesn’t come without a few issues that can arise after using a can multiple times, and the biggest and most annoying issue that many of us have experienced is the spray paint can getting clogged up.
While this is an extremely common issue, it’s not always clear how exactly to fix it, however, the good news is it can be done very easily, and it’s always worth learning so that you can use a spray paint can in the future and are able to fix it on the fly in case it starts failing on you.
Here is the easiest method for unclogging a spray paint can so you can get back to painting in no time at all.
Easiest Method For Unclogging A Spray Paint Can
Step 1. Check For Pressure
Before taking the can apart, it’s worth checking how much pressure is currently in the can since this can determine whether it’s worth saving or if it should be thrown away.
To test this, press down on each side of the can with one hand and see if you can easily make a dent in it by applying a little bit of pressure.
If you can’t make a dent, then there is still pressure in the can that can be used after it’s unclogged.
If however a dent appears very easily, this means the pressure has completely gone which is probably the reason it’s not working properly, so it’s worth throwing away at this point.
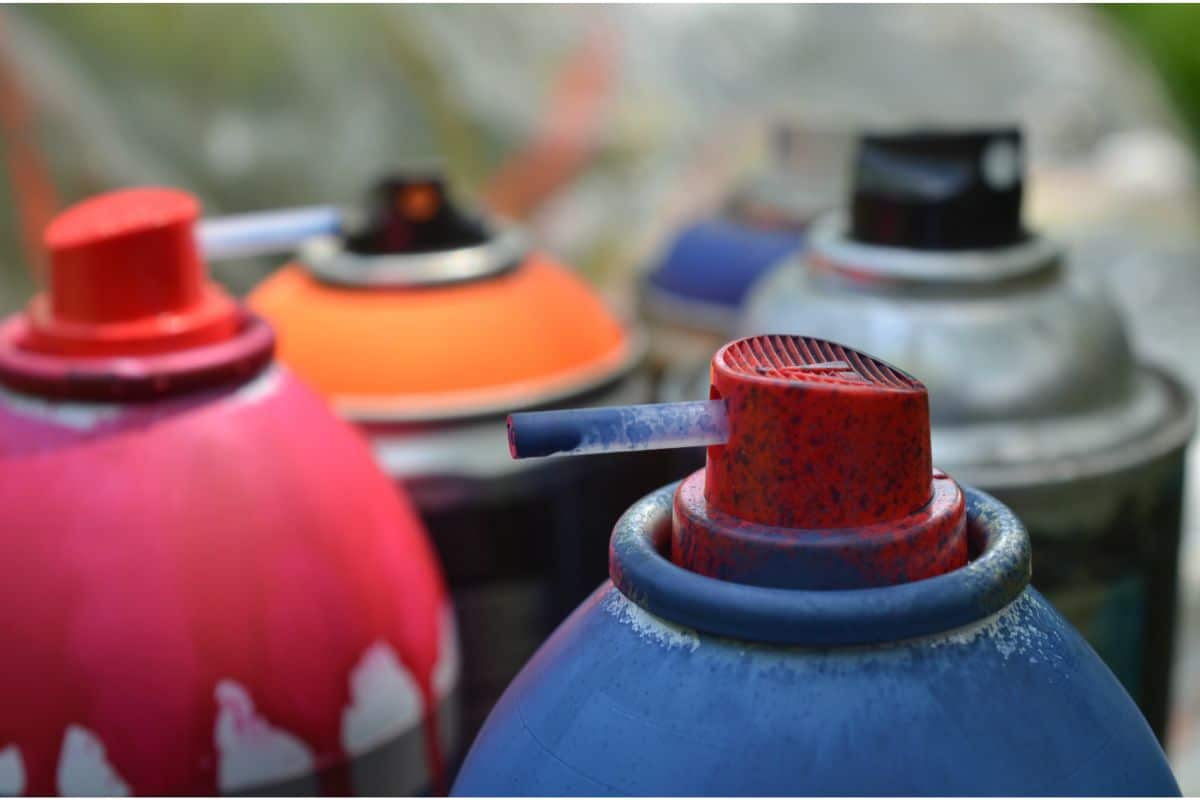
Step 2. Identify The Nozzle
Now it’s time to start taking the can apart. Begin by grabbing the top of the nozzle and carefully lifting it up and removing it from the can so that you can see the real nozzle underneath.
You will now need to determine whether the nozzle is male or female since the difference in their shape means they will require slightly different tools to unclog them.
Male nozzles are small and round with a hole running through their core, while female nozzles will have a small plastic tube that runs up the middle which it uses to fit into the top of the spray paint can.
Step 3. Clean The Nozzle With The Appropriate Tools
If your can has a male nozzle, you will need a cleaning tool which is about the size of a pencil that you can insert into the hole in the middle to start extracting some of the clogged-up paint.
You can simply use a pencil for this, however, other tools include screwdrivers, paintbrushes, or even very thin drain brushes if you have any.
The cleaning process is a little easier for female nozzles and is generally a lot easier.
All you have to do is hold the can upside down and lightly press down on the plastic tube stretching from the middle while using a towel to prevent making any mess.
When cleaning your male or female nozzle, you should notice dabs of paint coming out gradually.
Keep repeating this process for 5 to 10 minutes but try not to go any longer than this since you could end up removing more paint than intended.
Step 4. Check The Straw
Since you’ve already taken the can apart, it can also be worth checking the straw since this can also be an area where it can get clogged.
There are two ways to test whether the straw is clogged, one is to simply look through and see if you can see out from the other end, if not and there’s something blocking the way, this is most probably paint.
The second way to test is by gently pressing into the straw from either side. If you feel any hard resistance coming from a specific area, this could also be paint, meaning the straw will need to be cleaned.
Because the straw is so incredibly thin, you’ll find it very hard to squeeze anything down there to clean it the same way you would with the nozzle, so your best bet is to use compressed air.
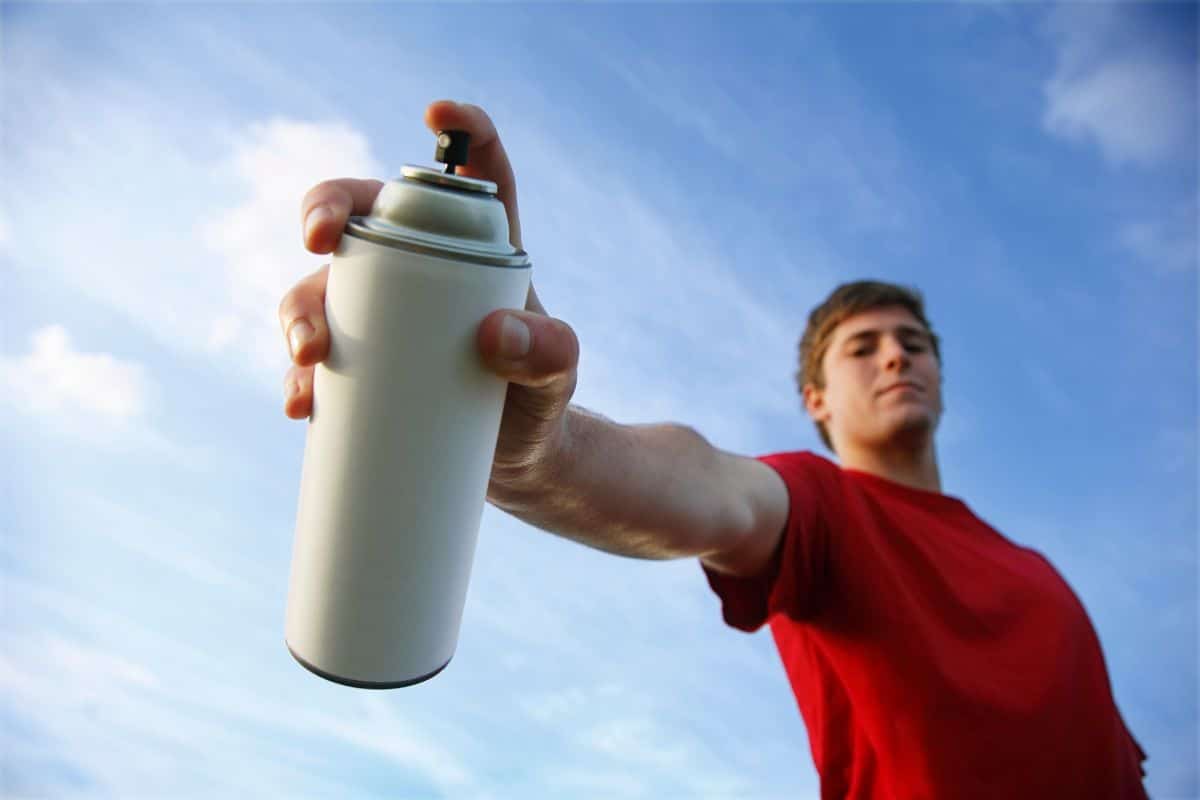
Step 5. Test The Spray Paint Can
Once you’re done cleaning, re-assemble the can and try giving it a spray to see if it works any better.
If it does, then you’re good to go, however, if the can is still having trouble spraying properly, there are a few other options you can try as a last resort.
Other Ways To Unclog A Spray Paint Can
If this method doesn’t work, there may be a little too much built-up paint to get rid of, which means you will have to resort to other methods.
One of the best alternative methods is to simply soak the nozzle in alcohol or hot soapy water for half an hour to an hour to let the paint wash away on its own.
If you think the paint may have dried up in the nozzle, it can also be worth trying to scrape it off using sharper tools such as a knife or a needle.
If all else fails, you can still buy a new nozzle and install this onto the can. This can often be the best option if there’s serious clogging, but you know there’s still a lot of paint left in the can to use.
Summary
The unfortunate truth is that clogging is a very common problem when it comes to spray paint cans, especially if you’ve had a can that has been used consistently over a few weeks or months.
However, before you go out to buy a brand new can when you might have a little more usage left in your current one, try giving the nozzle and the straw a clean first, it might just be all your can needs to be up and running again.