When you’re planning to do a painting project, one of the best possible purchases is…
How To Hydro Dip With Spray Paint
Hydro dipping is otherwise known as water transfer dipping. You can make your own designs and apply them to an object of your choice.
There are a number of ways to hydro dip, but did you know that you can hydro dip with spray paint? It’s an easy process and one we can explain to you easily with our helpful guide.
Before you start hydro dipping with spray paint, you’ll need a few bits of equipment first. Most importantly, you’ll need your spray paint.
Preferably, grab a few different colors to contrast with one another, a large bucket or tub, an idea for a design, and an item of your choice.
You can use any item, so long as it’s not electric, you should be fine with designing anything you want.
Recommended Types of Spray Paint
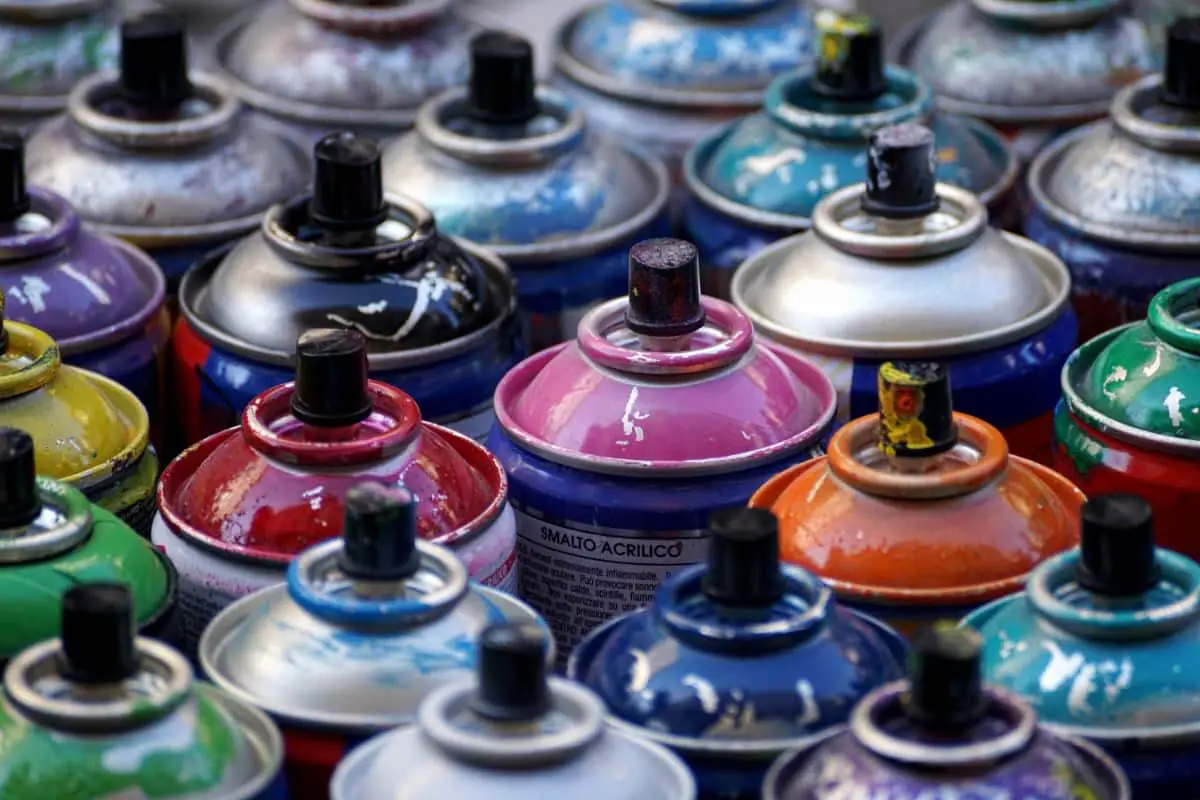
Ideally, before you start, you should make sure you have a good selection of paints. Although you can use whatever paints you want for your project, you want ones that work.
We recommend using colors that contrast with one another to get the most vibrant results.
Any spray paint can work for hydro dipping, so even if you want to experiment with old cans lying around, you can. All types of spray paint work for hydro dipping.
What Kind of Items Can You Dip?
As we mentioned before, you can dip anything you want so long as it’s not electric. Some of the most popular items that people dip into include shoes and skateboards.
The only factor you need to be concerned with when you dip an item is whether it will fit in your tub. If you don’t have a large enough tub or bucket to submerge it, then it’s best to choose an item that will fit.
You should also ensure you clean and remove any stickers from the item you want to hydro dip. If you’re dipping anything like glass or ceramic, we recommend rubbing alcohol onto it first (to find out if you can spray paint glass, read our guide here).
That way, the paint won’t slide off when you take it out.
What Items Do You Need To Dip?
Here is a list of the items that we recommend. Along with the items we mentioned earlier, we also recommend a few additional items:
- Spray paint of your choice
- A large tub or bucket
- An item of your choice
- Primer — This is optional, but if you do use primer, it will help protect your item from scratches after you paint it.
- A stirring stick — If you don’t have a stirring stick, consider using the handle of a wooden spoon or any other stick-like item that you have nearby.
- Latex gloves
A Step-by-Step Guide to Hydro Dipping With Spray Paint
Now that you have your supplies, you’ll want to bring them outside. It’s better to hydro dip with spray paint in a well-ventilated area, making this the perfect project to do outdoors.
That way, you don’t need to worry about the spray or any spillages that may occur if you do this indoors.
Step 1
To begin your hydro dipping project, you’ll need to fill your tub or bucket with water. You can change the size of your bucket or tub depending on the type of object you’re dipping.
If you have a small item, you can always substitute a larger bucket for a smaller one. The most important factor is that the item you’re dipping fits in your tub.
Step 2
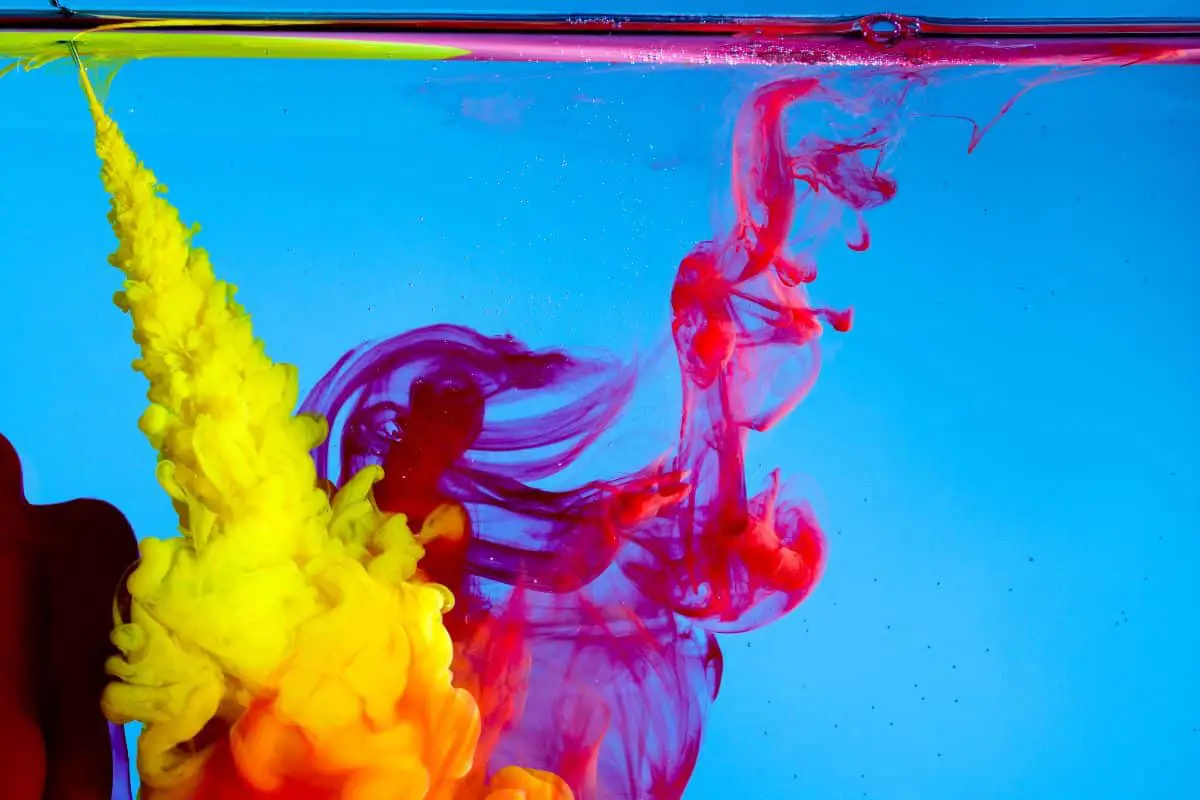
Choose your spray paint and spray them directly into the water. The reason it’s best to do this outside is so that you have plenty of breathing room.
You can spray as many different colors as you want, depending on the type of pattern you’ve chosen to do. When you spray, you’ll find each layer spreads over the water’s surface.
Don’t worry about thin layers, or else it will dry on top of the water. You want a thick layer so it won’t quickly dry out and harden on top of the water.
Step 3
Grab a stick or a large spoon that you don’t use and swirl it around the paint. This will spread out the paint into your chosen design.
It’s best to do this before you dip your item, so you don’t have a randomized design. If your layer of paint is too thin, you won’t be able to manipulate it, and the design won’t be as you intended.
Step 4
When you’re satisfied with your design, you can dip your item into the water. Make sure you have another item on hand to move the paint away from the water before you pull your design up again.
If the paint’s still on top of the water, it will attach itself to your item. Peel it away first, and then admire the design.
Step 5
If you aren’t happy with your design, don’t panic. You can re-dip your item and try again.
Hydro dipping is all about trial and error, so don’t be afraid to experiment and play around. When you’re happy with your design, leave it to dry.
Drying Your Hydro Dip Project
Most items tend to dry after roughly an hour, with the fastest drying time being 20 minutes. It depends on how humid it is when you finish the process.
However, if you want to re-dip your item, you shouldn’t do so immediately. It’s best to wait at least two or three hours so you know it’s definitely dry. Then, dip it again with a different spray.
Final Thoughts
Hydro dipping is a fun activity for all ages. Families can get involved with the creative process, and you can experiment with a wide range of colors and materials.
You don’t need any specific gear, and you don’t need to invest in any starter kits. It’s an easy process that anyone can do, so long as you have the main ingredients.
If you want to hydro dip with spray paint, feel free to grab your paints and start a new project.