Are thinking of redecorating or creating an artistic masterpiece of your own? Paint is one…
How To Clean a Paint Sprayer (The Complete Guide)
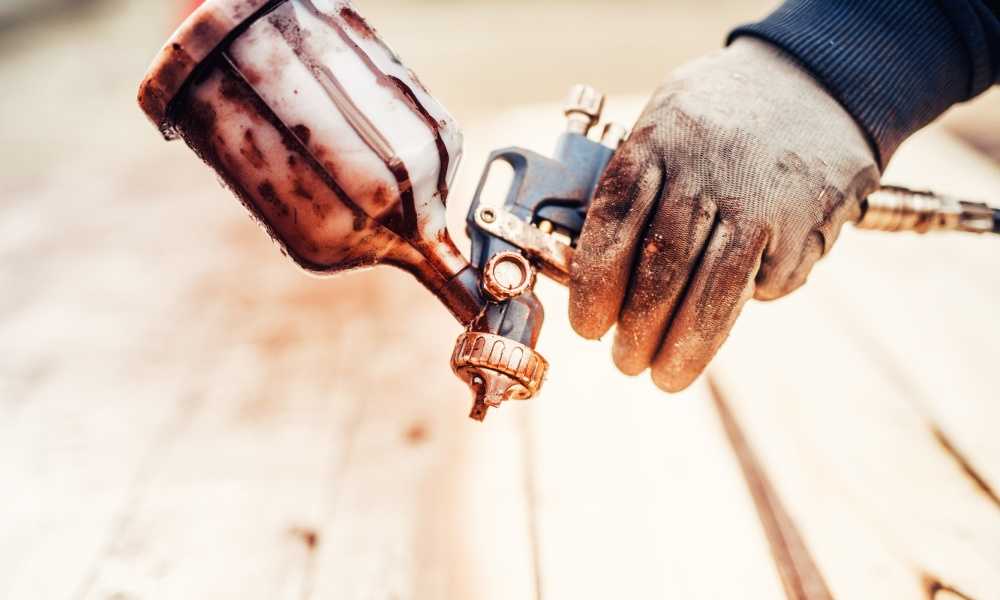
Undoubtedly a paint sprayer can turn a two-day DIY task into a two-hour painting task, but it does not make this a perfect painting tool. A sprayer can be quite a hassle when it comes to cleaning and even harder to maintain because of its complexity.
Paint sprayers are amazing pieces of equipment, but they do have an Achilles heel, Clogs, And for that reason cleaning your paint sprayer should be the first thing that you should after finishing your painting process. Clogging not only just kills your productivity, but they just are not good for the tool as well.
If you don’t clean immediately, the residues of paint will block its mechanism, and you will have a much tough time getting that working again in your next project.
However, if you are a new DIYer and have no idea of cleaning the paint sprayer properly, you are in the right place. We have assembled a complete guide for you that includes some useful tips and steps that will aid you in cleaning your paint sprayer and avoid clogs to have memorable painting experience.
So before you proceed to clean your paint sprayer, here are a few things that you should know: Have a look!
Before we directly dive towards cleaning steps, it is vital to know some important things about your sprayer. For instance, how could you protect your health when working with paint and avoid damaging your valuable spray gun in your painting process.
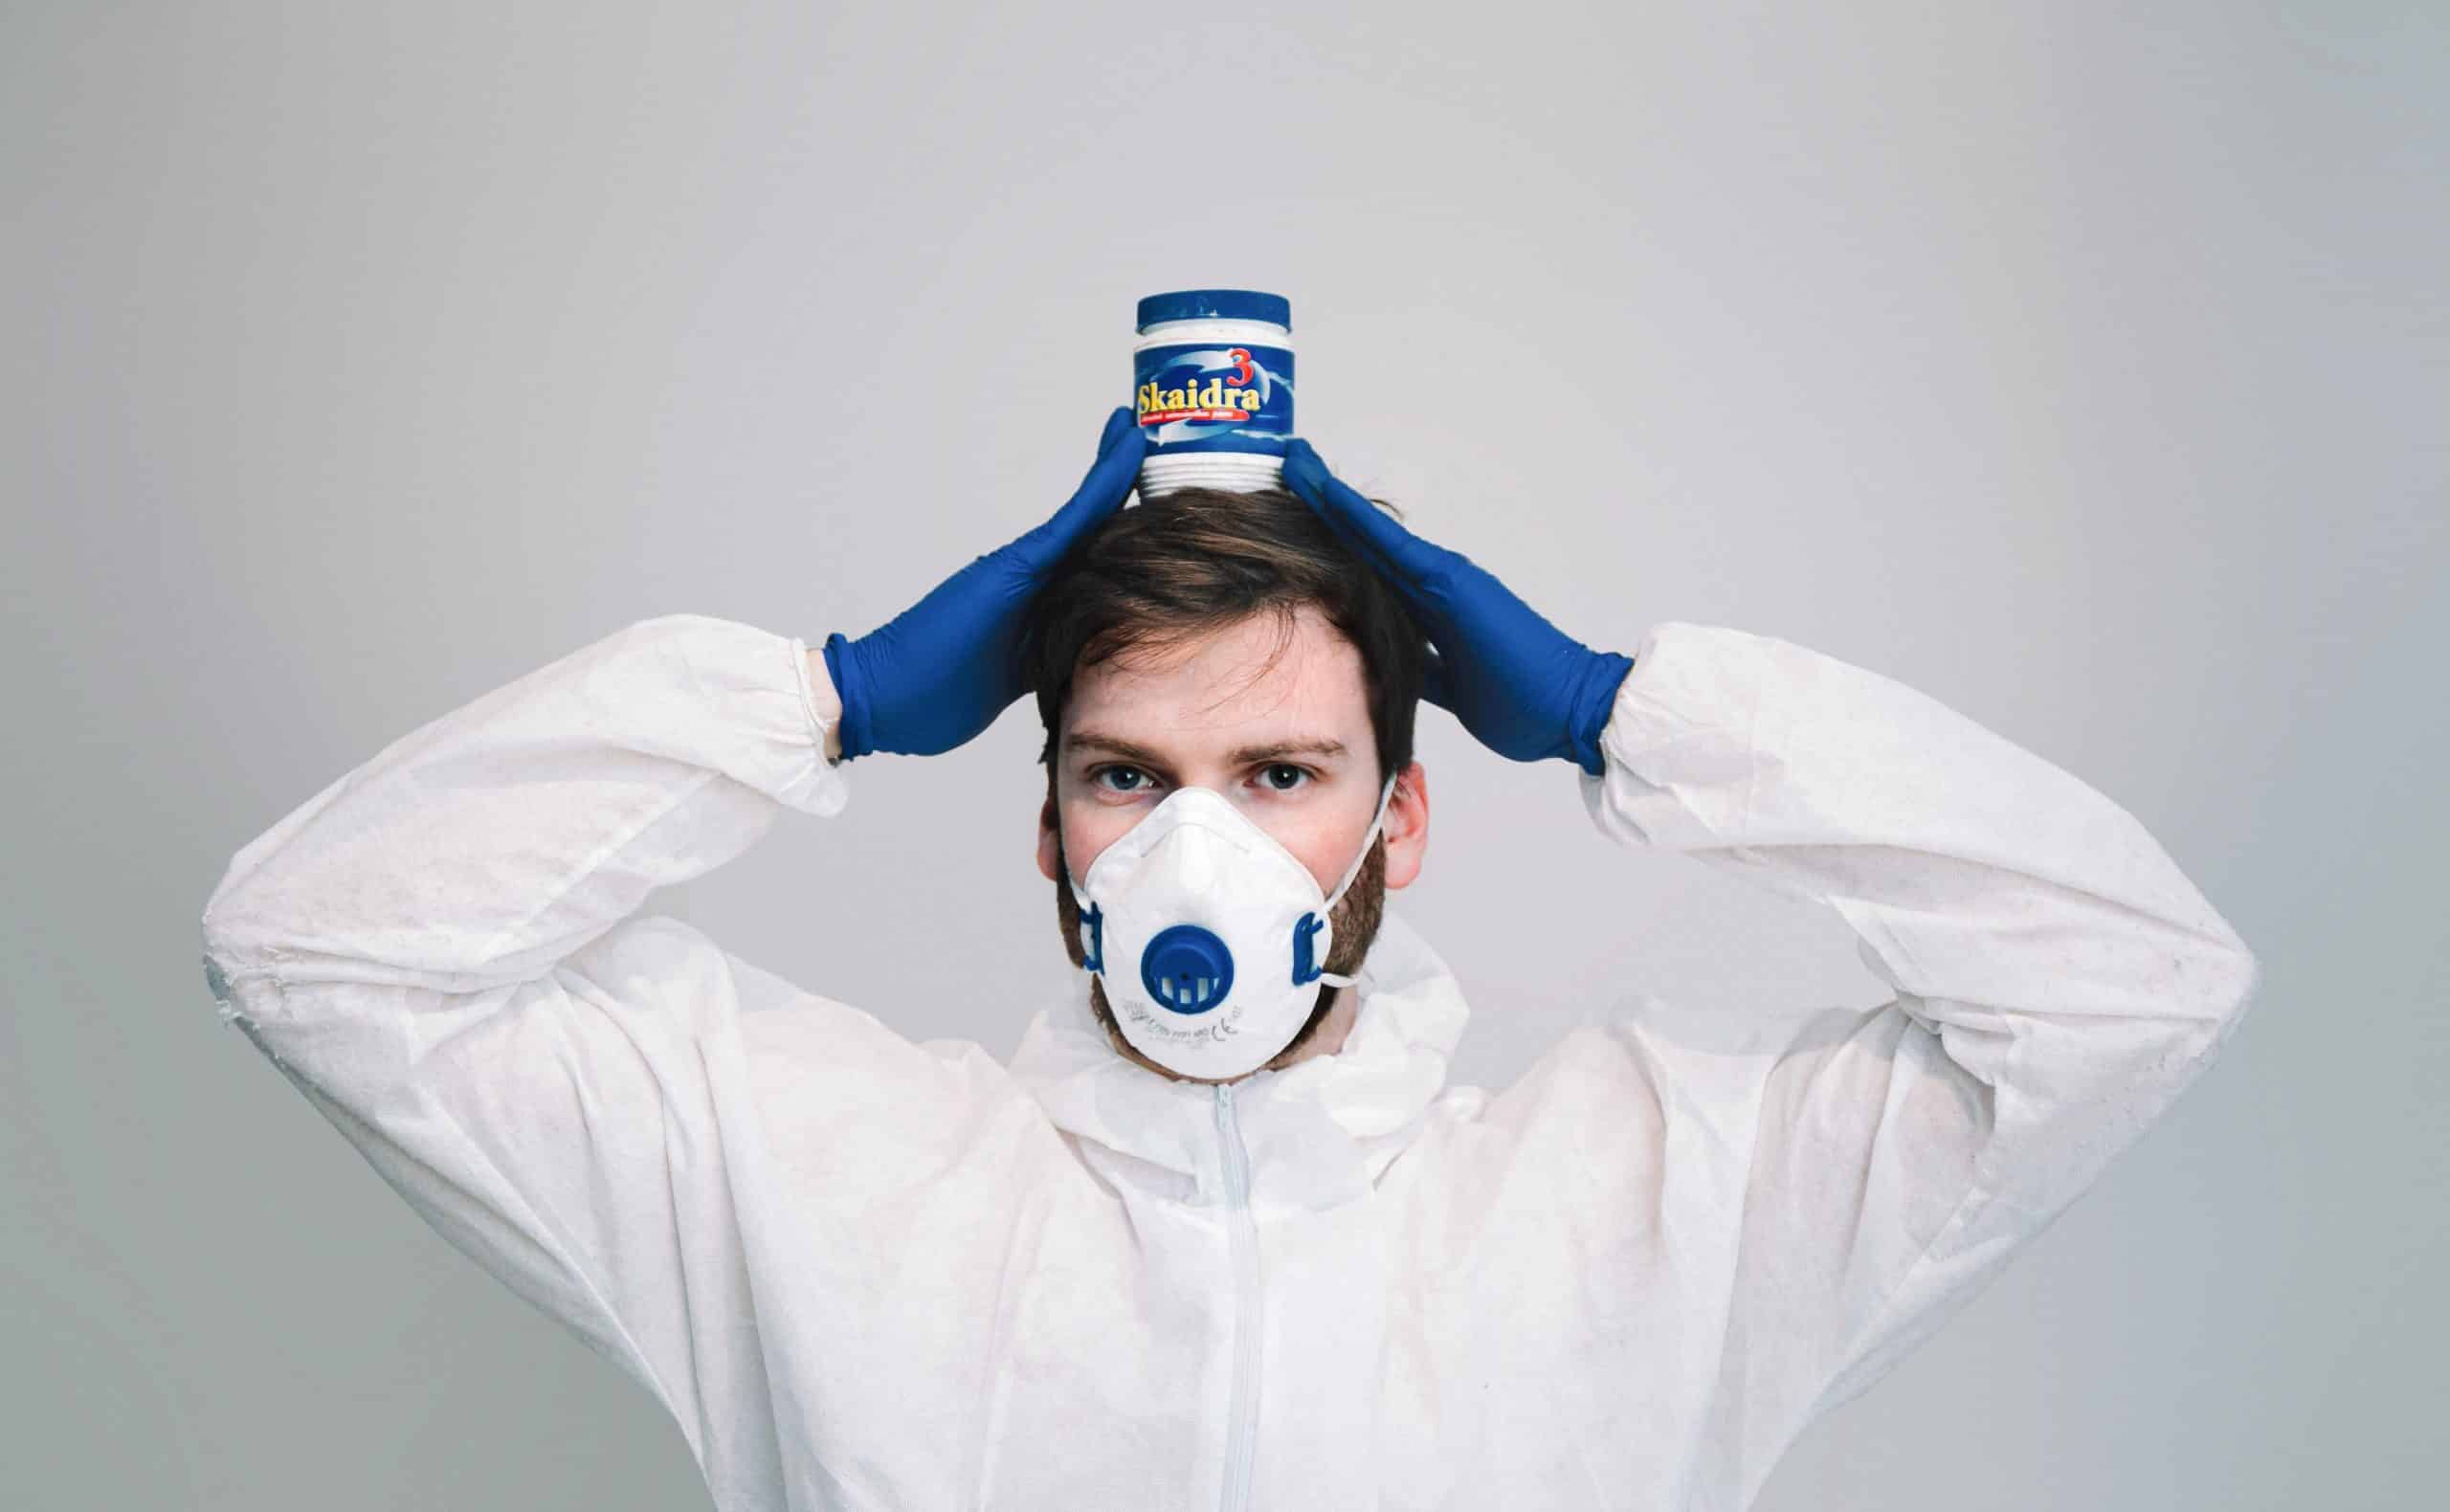
Always Wear Protective Clothing
Your safety is our topmost priority so that we will highlight first about your protective measures. Some paints are pretty toxic, so you won’t have just to clean only but also have to protect your clothes and skin (if you get some paint on your skin, follow our guide to get it off here). Besides that, you should always be careful about your eyes, and for that, you should wear a face mask because paint can seriously irritate them or, in some cases, even cause permanent vision loss. Your health is big paramount, so whatever you do, never risk cleaning your paint sprayer unless you have all the right tools.
Always Have Your Instruction Manual At Hand
It is also important to have your instructional manual always by your side as you can encounter trouble at any time, so having this will never let you misguided. Most spray gun manuals come with a section that guides how to disassemble and clean your paint gun.
If you have to deal with paint containing harmful chemicals, paint thinner or mineral spirits, don’t forget to use caution as one should be very careful.
Be Very Sure For What You Are Doing
Lastly, it would help if you had a complete idea of what exactly you are doing. Don’t be over-confident and go through the steps again and again. Though cleaning might be an easy task for you, still one in-accurate step can potentially ruin your spray gun and cost you a heavy amount in buying a new one.
After knowing some basic tips of cleaning a spray gun, we shall now look up to the steps that you should follow to get everything right.

Step#1: Prepare the Sprayer
Most importantly, you got to ready the sprayer for cleaning. You have to make sure that the sprayer’s pressure is set to the lowest level possible, and the power is turned off. After that, carefully remove the filter and tip components and turn down the prime valve into the open position.
You can activate the spray gun to get the insurance that the maximum amount of pressure has been relieved.
Step#2: Clean the Smaller Parts
Use any washing fluid, consisting of water and paint thinner, to clean the small parts like tips and filter pieces.
This step is a little boring, but it should not be a challenge.
Step#3: Remove the Siphon Tube
After cleaning the smaller parts of the spray gun, you have to remove the siphon tube very carefully and put that in a flushing solution.
The flushing solution that would be used will depend on the kind of paint that was used. If your paint is water-based, then you would need a water-based solution, while in the case of oil paints, your flushing solution would be mineral spirits.
Step 4: Flush it Out.
When your Siphon tube is out and in a flushing solution, it is time to use your sprayer gun to flush out the entire system.
Now you have to activate the trigger mechanism by again turning on the power, and after a few minutes, you will see your flushing fluid coming out of the spray gun. Let that flushing fluid flow until you witness that liquid comes out clear. Give that fluid some minutes so that it can circulate well in the prime valve as well.
Finally, swab down the exterior portions of your spray gun with any small rag that has already been soaked in mineral spirits or water. Be sure to discard the waste from this process positively, as keeping this waste longer can be very harmful.
Once it has been done, you can begin the reassembling of the sprayer to use it again.
Note that, in case you have a sprayer that has garden hose valves, so you can easily hook your sprayer right up to that garden hose and flush it out in even less time.
Final Thoughts
Now that you have given a look at this guide, you should not have any issues giving your sprayer the clean that it deserves.
So, when you know all four steps of cleaning a spray gun, make sure you repeat these steps each time you use your paint sprayer for your painting process. Regular maintenance is the only way to help your paint sprayer last much longer than you have expected.
Just make sure that you religiously follow each and every step for a good result and also don’t forget to protect yourself from any chemicals. Keeping these things in mind will make you master in this cleaning process within no time and have productivity that you have never before.
Enjoy Cleaning!!