The most important factor in achieving the finest paint finish is paint scraping. NO matter…
5 Best Paint Edger Tools
When I take my first step on a painting mission, whether it’s a commercial job or a DIY project, A paint edger is a piece of the necessary equipment I must take in my toolkit.
Painting areas that are too narrow, like edges of trim, ceiling lines, baseboards, and corners, could be annoying. If done imperfectly, you could end up with a messy result.
But if you have a good edger for the job, you will meaningfully paint a neat line, as well as edges around the window trim, baseboards, ceilings, and doors without dripping or splashing the paints all over.
What Is A Paint Edger?
A paint edger is a useful painting tool that helps to paint corners of edges of walls, baseboards, ceilings, and trim, as well as to make straight lines.
Also, it comes with wheels and a pad attached to it that directs the paint from splashing undesirable spots.
| Product
|
Price
|
Editor Rating
|
|---|---|---|
| 1. Accubrush MX Paint Edger 11 Piece kit.
|
||
| 2. Shur-Line 2006562 1000C Paint Premium Edger
|
||
| 3. Wagner 0530000B SMART Edge Paint Roller
|
||
| 4.Homeright Quick Painter C800771 Paint Edger
|
||
| 5. Shur-Line 2006701 640C
|
1. Accubrush MX Paint Edger 11 Piece kit.

Accubrush MX paint edger is a great tool; you can cut in edges around windows, doors, baseboards, ceilings, accent walls, chair rail, and crown molding in minutes, not hours!
This product made such a boring and time-consuming work seem like a breeze, making it is labor-saving for both pro painters and homeowners alike.
Additionally, you don’t need any particular information before you can handle Accubrush. It’s easy to use and self-explanatory.
You can edge almost five to eight feet before refilling the roller, which cuts paint edges more constantly and quicker than a sash brush.
Accubrush gives a roller touch slide to the edge without slopping because of the mini brush that dischages leftover paint along the way form a trim line.
Apart from that, the edger has a brush that is a roller and a brush which can be washed and reused – so it’s not a one-time thing.
Pros
- Lightweight MX Standard Edger
- Replacement Rollers/brush
- Time and energy-efficient
- It’s suitable for door frames
- Ideal for both beginners and amateur
Cons
- The edger is somewhat pricey
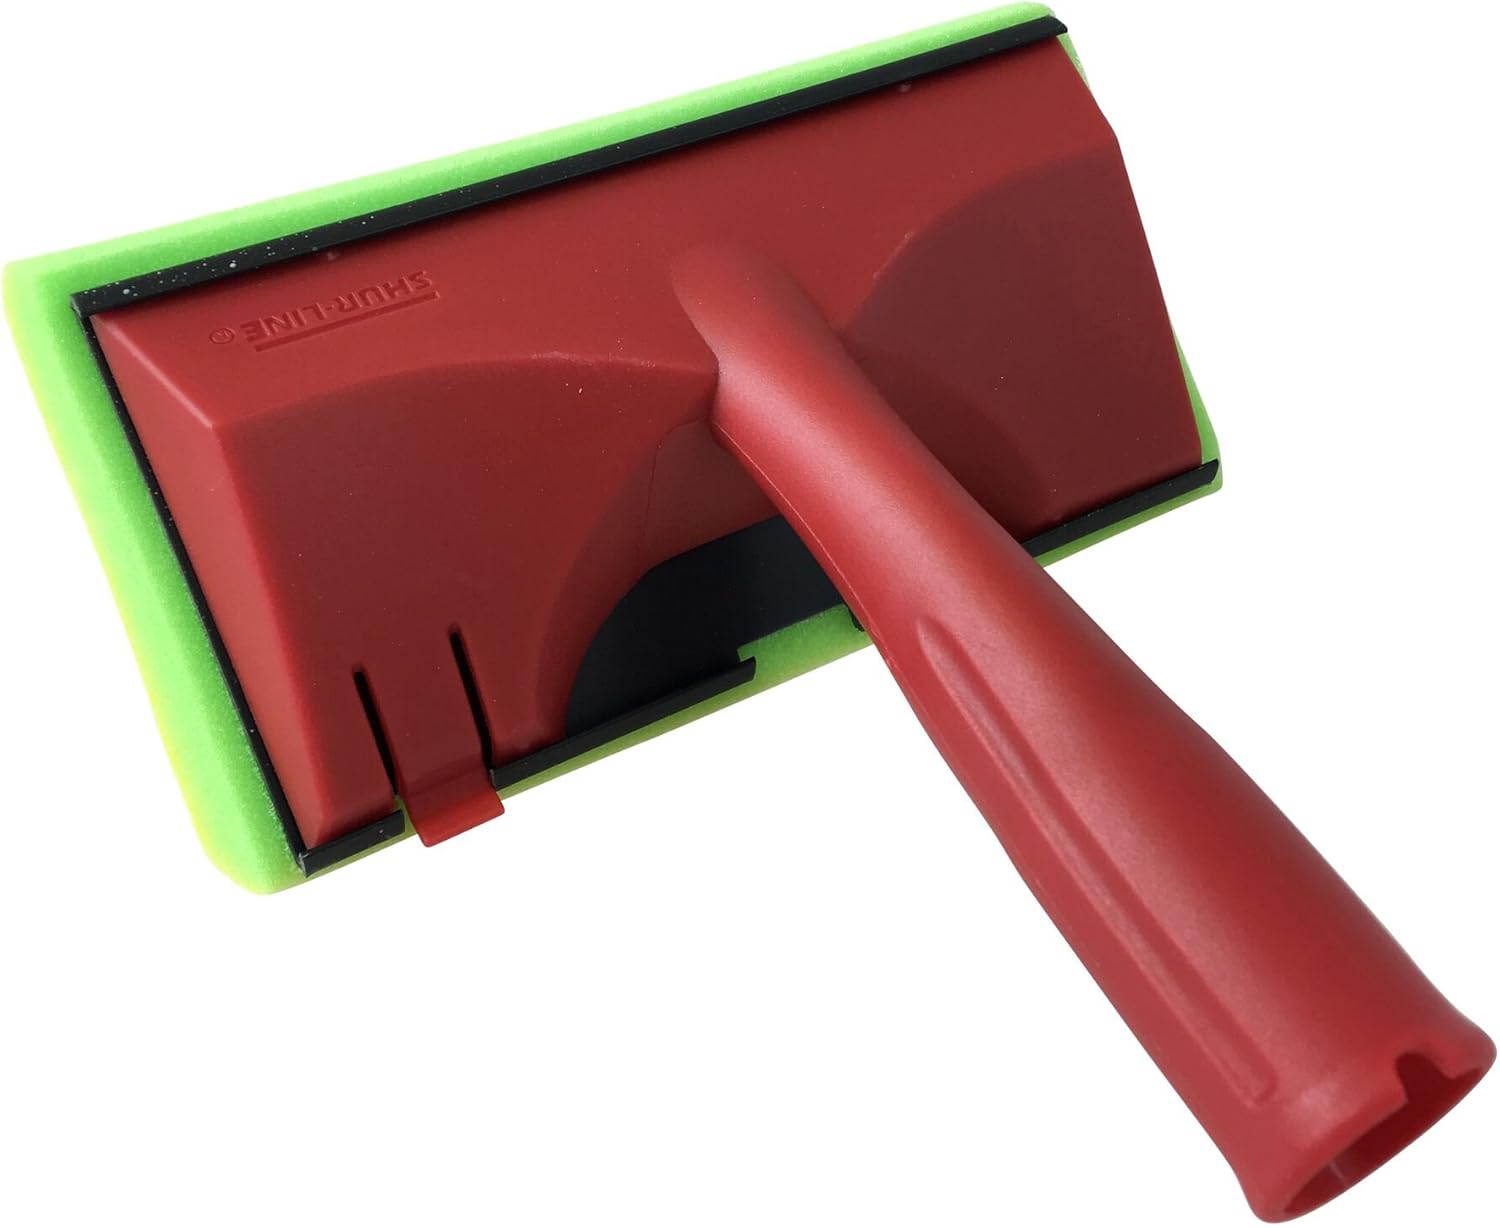
2. Shur-Line 2006562 1000C Paint Premium Edger

Shur-Line Edger pro features a spin handle that turns 180 degrees, which allows flexible, great hand mobility on the tool.
Also, it comes with an attachment that joins an extension pole so you can edge in hard-to-reach and high spots easily.
The tool is perfect for any extensive project because its ergonomic handle provides great comfort and reduces fatigue.
The woven pad helps with straight and smooth trimming around moldings, windows, and cabinets without any lint. Also, the protective wheel guards promote paint-free gliding.
Shur-Line is a perfect DIY partner due to its innovative designs that help tackle painting projects competently while accomplishing a beautiful painting result.
It will give you detailed edges and save you time irrespective of the project size without getting on undesirable areas.
Pros
- It’s affordable
- Availability for any extension pole
- It’s lightweight
- It has guides wheels for accurate edging
Cons
- Demands learning curves
3. Wagner 0530000B SMART Edge Paint Roller
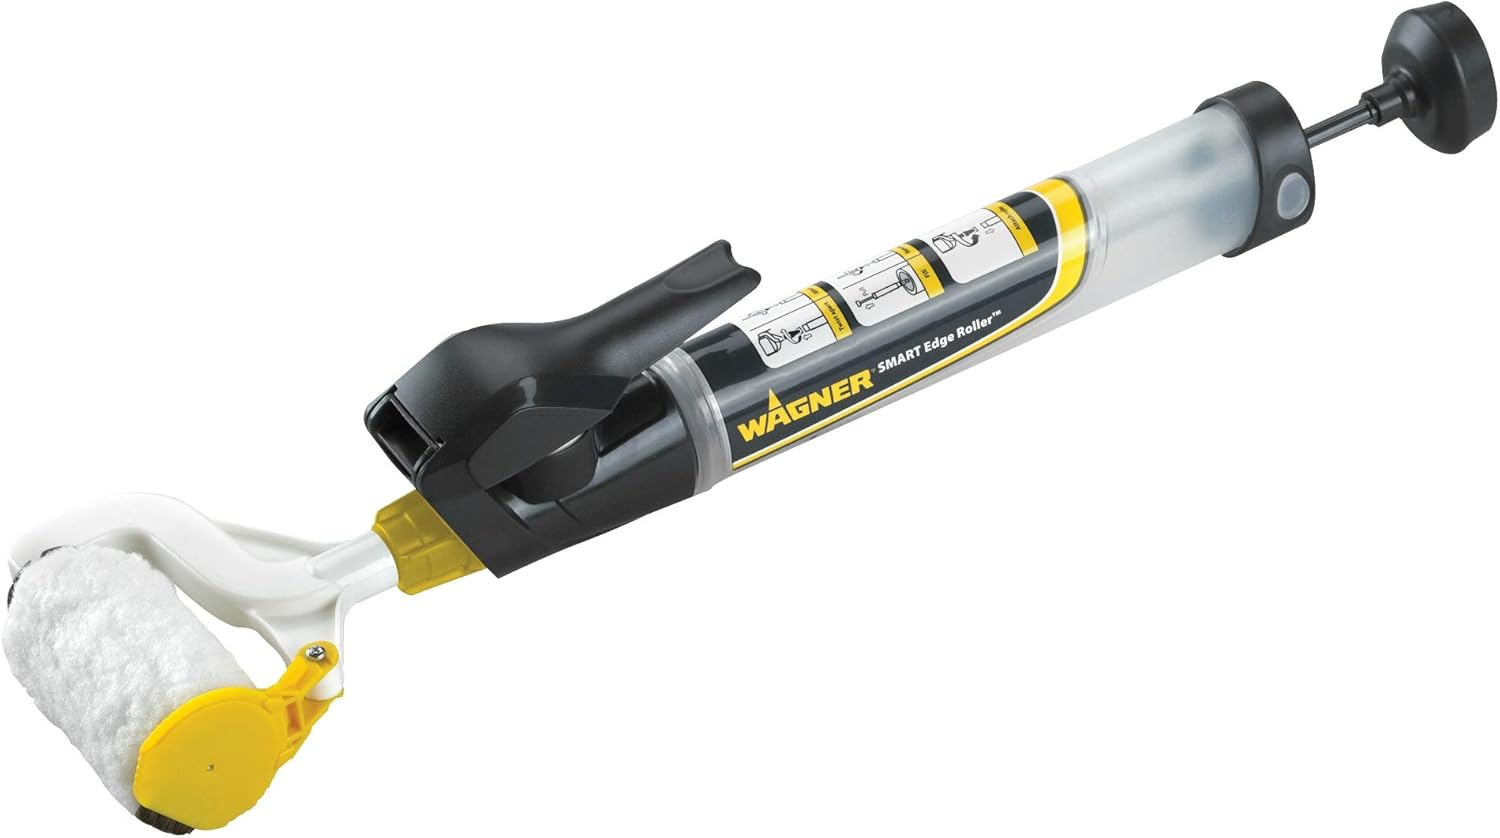
Wagner SMART Roller is trimming equipment that makes painting the corner task easier and enjoyable by removing the tedious taping and cut-ins.
The mini roller makes it possible to reach out to even small and hard-to-reach spaces like around windows, doors, molding, and baseboards.
It comes with controllable paint flow features, which enable appropriate paint distribution whenever you need it. This only effort required is to press the thumb trigger, and you’ll admire having absolute control over a mess-free painting session.
This tool enables you to achieve a neat line without dripping or splashing. More precisely, it’s easier to clean it after use. Simply flush the roller with a garden hose.
Wagner is more resourceful than a regular paint roller because you don’t need to use paint trays. The smart edger draws and holds paint directly from the can to the handle, which saves you the stress of continuous refill.
Statistically speaking, the reservoir holds approximately 6 ounces of paint and covers about 96 linear feet only in one fill –you can quickly tackle any wall and ceiling makeover.
Pros
- It saves time when painting
- You have more control
- You can easily add up paint
- Ideal for larger painting projects
Cons
- Less coverage
4. Homeright Quick Painter C800771 Paint Edger
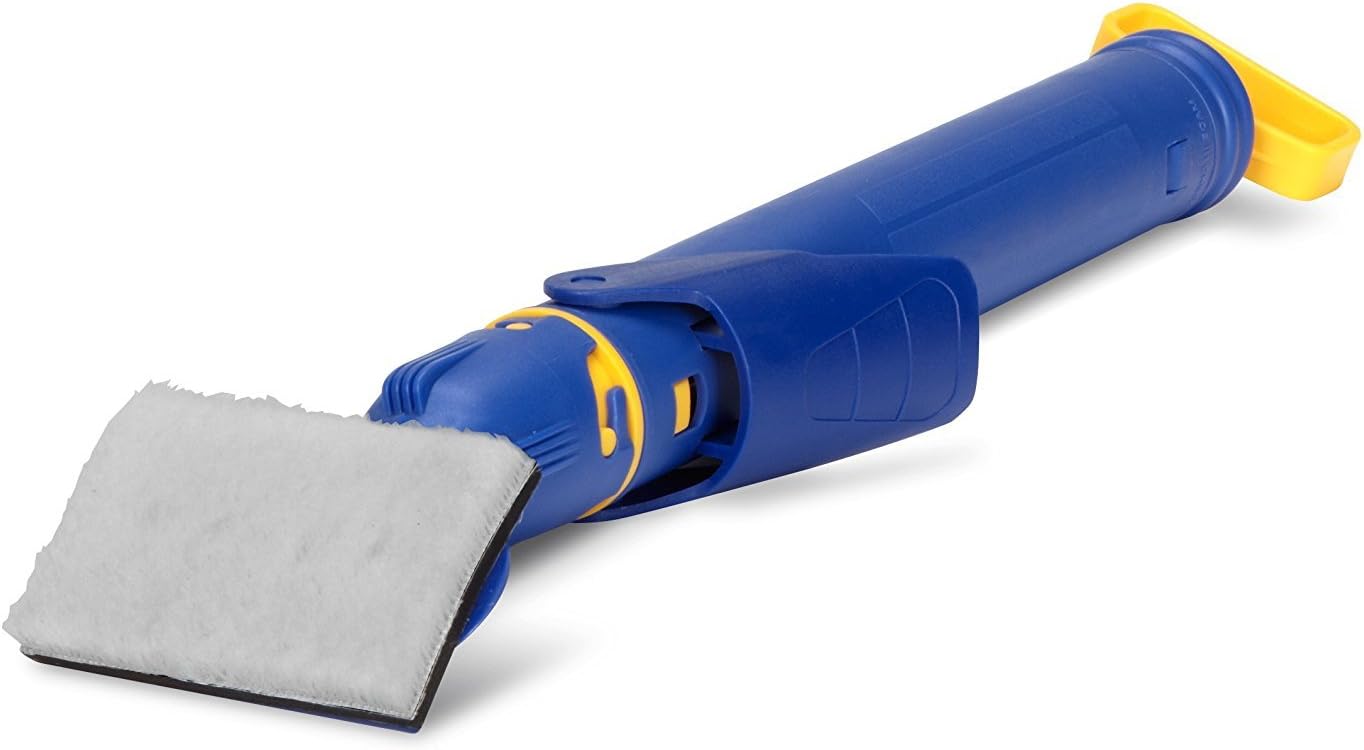
It’s not easy to paint a clean and crisp edge, especially when you have to deal with smearing paint on crown moldings and baseboards.
This paint edger features a wide pad that applies paint evenly and smoothly. It has built-in guides at each side to prevent unsightly streaks and smears on your ceiling, sills, or trims.
There are no requirements of going back and forth to the paint tray when applying several coats of paint as this tool comes with a large plastic tube that can hold up to 4 ounces of liquid. To draw paint into the tube, simply remove the pad to expose the tip, place the tool into the can of paint, pull the yellow handle, and reattach the pad. Dispensing the right amount of paint can be tricky, though, so practice with water first before you take on your first project.
Pros
- Its plastic tube can hold up to 4.5 ounces of paint.
- highly absorbent flocked neoprene pad that makes paint application smoother.
- The head comes with an edge guard to prevent it from smearing excess paint on crown moldings, ceilings, and more.
- You can control the dischagre of the paint using the trigger.
- It is easy to clean.
Cons
- Controlling the flow of the paint takes some practice.
5. Shur-Line 2006701 640C Interior and Exterior Painter Pad
This paint edger is yet another excellent tool for everyone.
The tool provides premium and smooth finish on shingles, siding, shakes, floors, walls, and even more surfaces as well.
This tool is a perfect choice for both exterior and interior projects. Its durable and lightweight handle speed up your job for sure.
Many people used this tool, and they fell in love with it. All in all, it’s a great pocket friendly option that you can relay on for your exterior or interior painting projects.
Pros
- It’s economical
- suitable for both exterior and interior projects
- The tool is suitable for providing smooth finish on walls, shakes, siding, shingles, floors
Cons
- We didn’t found
What To Consider When Buying A Paint Edger
Having so many options and choice, you might be wondering what to look for when selecting the best pain edger tool? We have listed some key characteristics a good paint edger would have.
Shields and Wheel Guides
Shields are responsible for preventing the paint from staining undesirable areas while you’re painting. That said, it’s crucial for every edger to have a shield because it removes the need for painter’s tape.
Usually, edgers had two types of shields called metal shields and plastic shields.
Most Plastic shields (however, not all) are susceptible, as it permits paints to slip out in most cases. However, it won’t encompass the paints or stains, but you have to be careful not to get too close to the edge because it might make a mess.
On the other hand, metal shields are far more stable against the wall. In most cases, no paint will leak through it, so you can attain a neat line closer to the edge.
Both plastic and metal shields prevent any slopping. But we would suggest you settle for a metal shield.
Material
The material that is used for the roller plays an important role, and its commonly be brass, some kind of plastics, or stainless steel, etc. If the weights of the tools you use is an important factor for you and you want something which is lightweight, then the plastic or a combination of plastic and brass rollers will be the best choice for you.
It’s impartial to add that these tools are generally not the most heavy-duty tools that are going to bear a lot of stress or cause major weariness. So, it wise to view the materials used from the perspective of how durable the edge roller will be specified the material used!
Edge Paint Heads
Another important factor you need to consider is the shape of the head. The head of the paint edger tool will come in two basic forms, the round cylindrical head, and the pointed cone-like head.
Both are perfect for applying paint over the edge. The only advantage the pointed head has over the cylindrical head-shaped roller is that it will be easily able to reach too hard-to-reach areas like tight corners when finishing huge projects.
Grip
Would you need a gentle grip on a relatively thin handled edge roller like a pen/pencil, or would you need a somewhat bulky grip like you would with an excellent finish and smooth look?
Any of these alternatives can work great, and whatever your choice is, you will be able to find what you want in this list of paint rollers. And the pictures can give you a clear image of the handles and grip they offer.
Extendable capability
Most edger has an extension pole; on the other hand, others do not. An edger that lets you attach a pole or other accessories could be advantageous in terms of height.
It enables you to reach out to top portions of the walls, which overthrows the urgent requirement for a ladder – wasting time moving it around or climbing up and down when painting.
Size
There are two things to consider when making a decision for an edger with a considerable size.
Firstly, the edger should be easy to handle and lightweight. Secondly, it’s vital to consider the surface type you’re going to paint on.
If it’s a wall, a larger size edger would be suitable. However, a mini or medium size edger is a go-to option for baseboards and trims.
Frequently Asked Questions
Do I have to use painter’s tape when I am using a paint edger?
No! You don’t have to use tape because the wheel-guides and shields provide an easier substitute to painter’s tape.
They get rid of the hassle of cutting-in, masking tape, painter’s tape, and other traditional techniques to prevent paint splitters.
Should I cut in after or before rolling?
Most professional and experienced painters I’ve observed case after case cut in the corners first before they start rolling paint on the surfaces.
And, we suggest you follow the same because it highlights the corner, which makes it less possible to paint over them.
How can I use a paint edging tool?
How you hold and use the paint edging tool will differ depending on the type of tool you select, but all of them require you to press the tool as close to the edge as conceivable. Apply paint with a smooth and a single stroke, guiding the edger along the surface. Take your time and pay devotion to your work. Even with an edger, rushing can consequence in less-than-perfect results.
Do paint edgers really work?
Yes. Paint edgers get rid of the need for taping along surfaces and can even be used to paint clean edges around many objects like smoke detectors.
What are the general tools for painting?
Typically, you need roller pans, paintbrushes, paint rollers, tape, a drop cloth, and paint. An edging tool gets rid of the need for tape and, in most cases, a pan. As a matter of fact, the Accubrush XT Complete Paint Edging kit contains all you need except for a drop cloth and paint.
Conclusion
Painting along corners and edges of your ceilings and walls are not a problematic task, on the condition that you have the best paint edger for the job.
Selection the ideal tool for your project won’t be tricky. We have already specified the pros and cons of each product, along with the buyer’s guide to help you make a clearer choice.
We recommend Shur-Line Paint Premium Edger and Accubrush MX Paint Edger as they’re compactable with any cut-in mission.
You may need to get both of these tools because there’s nothing more noticeable than a crummy paint job. Choice what works best!