
Painting any of your valuable objects might seems to be a difficult process if you…
The 5 Steps Guide to Spray Painting a Fence
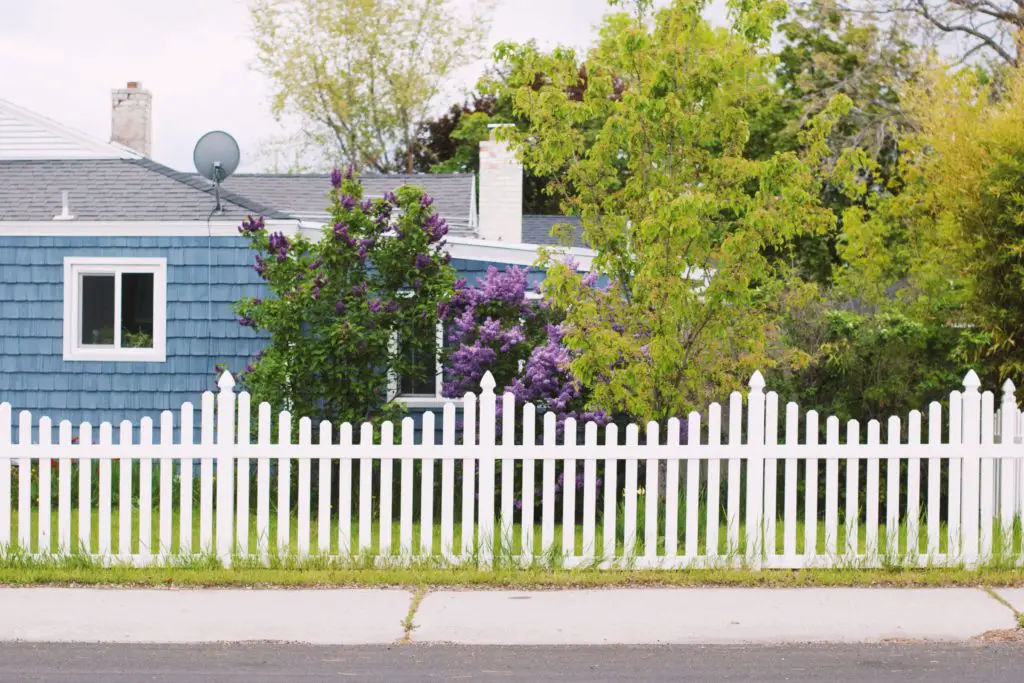
An edible looking garden will enhance the beauty of your home. The task of painting a fence is relatively easy than other DIY experiences. To keep your wall good looking and protect it with some external containments you need to repaint it once in a year.
For many people, having a perfect colored fence is just as important as making their place look stylish and classy. To refresh the color of your wall and give your garden a lively look.
When you have decided to paint, then you have two options in front of you, either use a paintbrush or a paint sprayer. In my opinion paint sprayer is more vice choice as paintbrush will take ages to paint your fence while a paint sprayer will manage to dab the paint into some tight corners of your fence and will provide maximum coverage with streak-free finish in no time.
Many of you will not have a clear idea of how to paint a fence correctly. So this article will provide some steps which can guide you on what should you do and what should you avoid.
Scroll down and have a look
Step # 1: Prepare your fence
Preparation is a crucial step in any painting process. Before starting your procedure, you have to make sure that your fence is free from any dirt particles, grim or algae. If you have all these on your fence, then use a pressure washer or use water with a hard-bristled brush. If you see some algae and mildew, then you should apply diluted bleach solution and the scrub that with a bristled brush. Remember to scrape any flaking, cracked or chipped paint.
Trim away the grass around the fences and once again sweep any debris or dirt near the fence as it might be possible that surrounded dirt will be stuck to your paint by the wind if not removed properly. Your fence should not be wet at all and also remove any hinges, handles or bolts to ensure that paint does not get to the metal parts. Cover them with any dust sheet so that paint doesn’t get dripped on them.
Step # 2: Check the Weather
The best weather for this fence painting is dry weather when the temperature is at least above than 5° C. The paint will not dry quickly in extreme cold weather and if it rains just after your work then obviously the paint will drip.
If you are painting a wood fence, then make sure that the weather is not extremely hot. The extremely warm weather will let the fence dry so quickly that the wood will not get the chance to soak the paint properly as paint on woods can also protect them as well if it is unavoidable to paint in hot weather than at least wait for that time of day when your fence is in some shade (for more information on spray painting wood, read our guide here).
Step # 3: Select the right Product
This is the most technical part of the painting. Selecting the best paint spray for your fence can be a tough task.
Spray paints for the fence can be costly but choosing a high-quality colour is worth that expense. A good fence paint will make the condition of your paintwork and the fence sustainable for a more extended period. We always recommend you have the best product, even though you have to bear some extra expenses, as according to us the quality of the product makes all the differences.
Before buying your paint, make sure you know about the texture of the fence as different paints serve to various surfaces.
Some paints that we would recommend to spend your money on are
Ronseal Fence life One coat
This works best for the broken and sawn fence. It has a quick-drying formula which enables you to complete your work in less time. This paint hides the imperfections with just one coat and becomes water-repellent in only 2 hours. It has six different colours, and its colour lasts up to at least two years.
Ronseal Fence Life Plus:
If you want a low-maintenance fence, then it is a perfect option for you. It is quite durable and provides protection form with all-weather elements for up to 4 years. It best works on rough sawn and also on smoothed plane wood. It becomes water-proof just after an hour.
Cuprinol Ducksback:
It is a high-quality formula that provides ultimate protection. This will sustain its colour for up to 5 years. It contains a non-toxic formula which means that it will not do any harm to any pets or plant near the painted fence.
Step # 4: Use the correct technique
Always apply a thin coat along the grain of the timber. Your strokes should be in the direction of the grim and use the same amount on each section. Don’t overload the fence with paint as it will start dripping and if they began to dry in drip shape then make sure you catch them as wet and fix them
Remember to hold the nozzle of the sprayer at least 15cm from the fence and try to overlap each pass by 50%.
Step # 5: Clean and Review
Give your paint its due time for drying. Remove the dust sheets when you are 100% sure that the fence is completely dry. Check that paint is applied evenly to the whole fencing and take an idea does your fence needs a second coat or not. Clean your sprayer immediately after finishing your painting and reserve them for future use. Use white spirit for easy and quick cleaning of any remains of paint. Wear your gloves before using this and wash your hands with plenty of water after it is done.
In this guide, we will also highlight some common queries that you may have, and some essential tips which you should follow, if you have to think of spray paint your fence.
Right Spray Technique for using a sprayer gun
As earlier mentioned, the right technique for spray painting is fundamental. If you have never ever used spray paint in your life, then you will find this tricky, and you will need to learn how to use a sprayer ideally. Here we are listing some small rules when painting with a sprayer.
- It would be best if you kept the sprayer 15-20cm away from the fence.
- The nozzle of the sprayer must be in a vertical pattern while painting rails.
- Movement of sprayer gun should be back and forth.
Paint the panels with the same way, just keep your nozzle at 90°, and you will achieve a crisscross pattern with no sign of streaks.
But if you still think that you can perform your task well, so you can always call some professionals for your help.
How Often to paint a fence
There is a set period that you could be fixed for yourself. This clearly depends on many factors
- Your location
- Type of paint that is being used
- Quality of a paint job
- Type of material that is being painted.
Apart from all this weather also plays an important role when you are dealing with a paint job. You cannot determine for how long your paint will last, especially when you are painting for the very first time. Most of the colour will fade or lose its shine within 2 or 3 years.
Find jobs for painting here on this page.
What if you have a metal fence?
The above guide was for a wooden fence. Some of you might be having metal fencing around their garden.
Metal paints are purely oil-based, and they are quite a suitable resistant of water, scorching sunlight and different weather conditions. Select a particular type of paint for your metal fence, which can have a long-lasting effect. If you are not aware of the best metal paints, then consult a salesperson in any hardware shop or approach a professional for any sort of confusion.
Conclusion
A fence can surely provide privacy and beauty to your garden, or your backyard there is for sure some maintenance cost that you have to bear with this advantage.
This guide contains all the critical aspects that you should know about painting a fence in the best possible way. Don’t suppress the need for fence painting behind your lacking experience or information. You are now completely equipped with all the unique tricks and tips of spray painting a fence.
In my opinion, selecting appropriate spray paint for your fence is the most technical part of this process. If you succeeded in choosing the best spray paint, then the rest of the process is not at all problematic. Consider the options that we have recommended for having a memorable experience.
Remember that fencing is an eye-catching thing for every person that visits your place and to have a great first impression, make sure that your fence looks great.